In this blog post, I will set up dynamic pricing in a Swift-based mobile game called ‘Match The Atoms’. I will start with a mobile app that uses in-app purchases, but does not use dynamic pricing. When I finish, I will have created a Sweet Pricing account, installed the iOS client library and tested the installation.
The aim of this blog post is to demonstrate, to a technical audience, how quickly you can install Sweet Pricing into a mobile app. I performed the install in under an hour. While the difficulty varies from app to app, you can expect a Sweet Pricing install to take no more than one or two developer days.
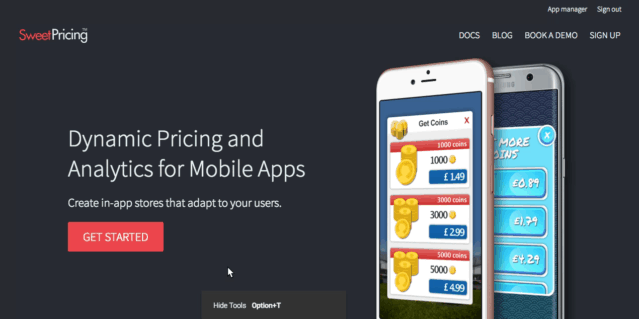
Match The Atoms Is a Simple Mobile Game With a ‘Remove Ads’ In-App Purchase
Match The Atoms is a simple mobile game where players match images of the same atomic nuclei. The mobile app uses banner ads to generate revenue. But it also features an in-app purchase that allows players to remove the ads for a $0.99 fee. Using both in-app purchases and advertising is the most popular app monetization mix.
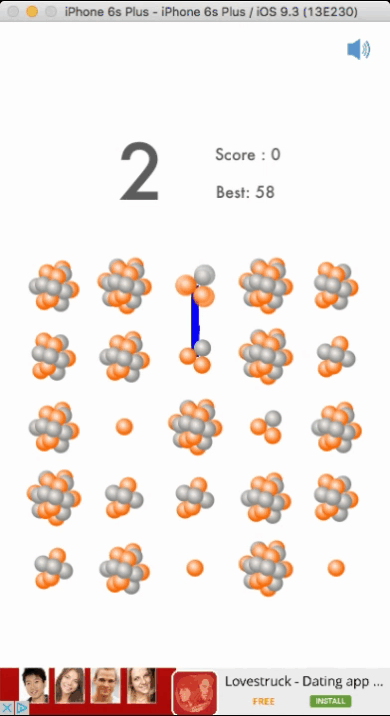
Before I go any further, I will open the mobile app in the iPhone simulator to show you how it works. In terms of gameplay, the objective is to match the images together by swiping horizontally or vertically. The game motivates players to score higher than their previous best score, or the high scores of their friends. It is a really simple game.
The mobile app uses advertising to generate revenue, but there is also an option to remove ads for a $0.99 fee. At the moment, every user sees and pays the same price. But I am going to change that and offer the next price point up, $1.99, to our most engaged users. I will show you how to achieve that using Sweet Pricing.
Of course, your mobile app is probably more complex than Match The Atoms. It will probably sell virtual currency, other in-app content or subscriptions. But I have decided to show a tutorial on Match The Atoms to keep the tutorial simple, so you can follow along in this short(-ish) blog post.
Search for an Existing Android or iOS App to Sign up to Sweet Pricing
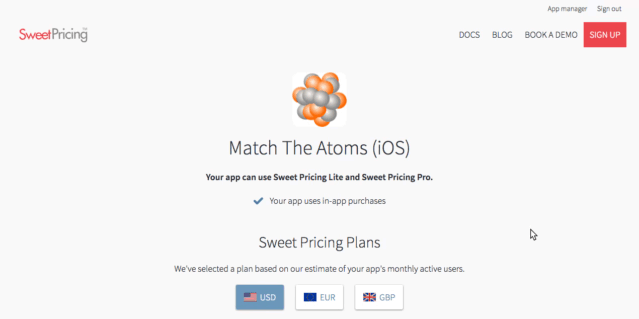
Before I do any implementation, I will show you how to sign up for a Sweet Pricing account. Sweet Pricing makes it as easy as possible to sign up by simply searching for my existing iOS mobile app. I will head over to sweetpricing.com, click ‘Get Started’ and search for ‘Match The Atoms’.
Sweet Pricing bases its subscription plans on the number of monthly active users an app has. Sweet Pricing is able to produce an estimate for any existing Android or iOS app, and recommends a subscription plan. In this case, I want to use segmented pricing, so I need to sign up for Sweet Pricing Pro.
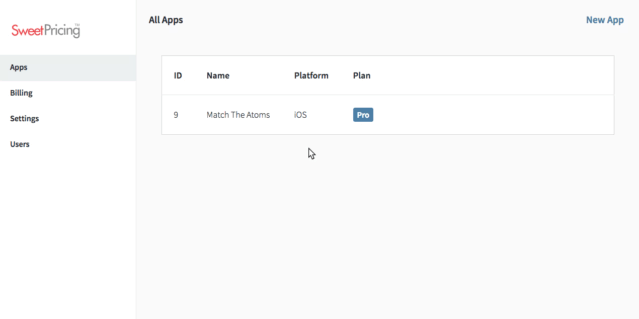
I need to enter a few details, such as name, email address and password, and click ‘Sign Up’. I have now created an account, my first app has been added automatically, and I have not had to do anything with billing yet. Now I can get started and install Sweet Pricing.
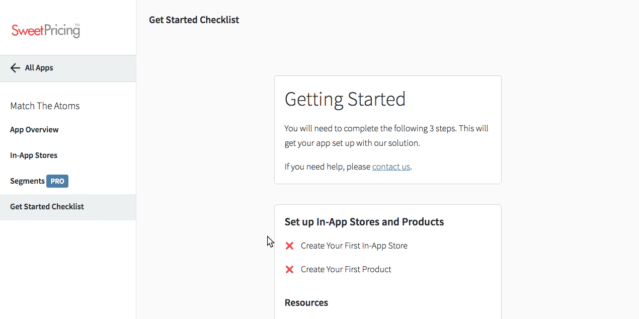
The Get Started Checklist Guides Me Through the Install Process
I will open the mobile app that I have just added to Sweet Pricing. The most useful screen at the moment is the ‘Get Started Checklist’. This screen shows me a list of tasks that I need to complete to use Sweet Pricing. It also links to relevant help pages should I need them.
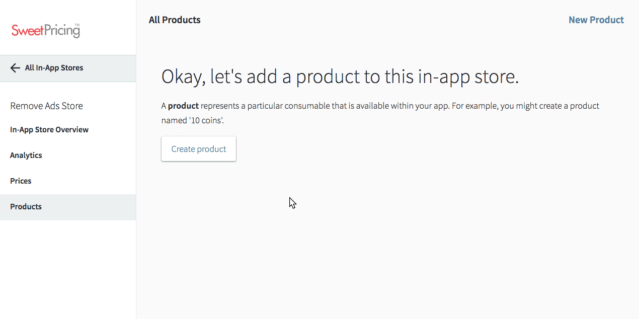
The first two tasks I have is ‘create your first in-app store’ and ‘create your first product’. For Match The Atoms, this is rather simple because it only has one in-app purchase.
Creating an In-App Store and In-App Product
I head over to the ‘In-App Stores’ tab and click ‘Create In-App Store’. I am going to name this store ‘Remove Ads Store’.
Finally, I will add a product to the newly-created store. I will call the product ‘Remove Ads’.
Now, App Manager asks me for a ‘default product ID’. This is the product ID that Match The Atoms currently uses, as configured in iTunes Connect. So I will head to iTunes Connect, open my app and click ‘Features’. On the ‘In-App Purchases’ screen, I can see a list of the products I sell in-app.
You will notice I have already created a second in-app product, so the app has one in-app purchase for $0.99 and a second for $1.99. At the moment, the app only uses the $0.99 option. So I will copy its product ID over to Sweet Pricing, and create my product.
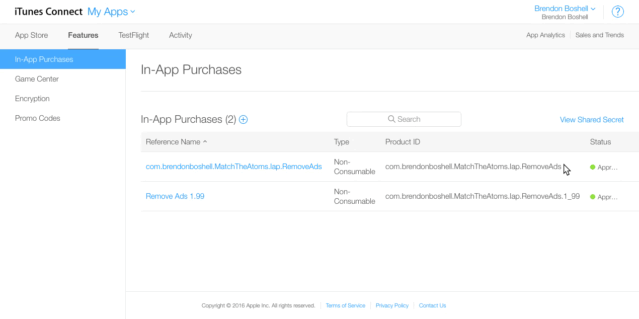
While I am here, I will also add the second price point because I will need that later. So I will click ‘Remove Ads’, ‘Product IDs’ and ‘New Product ID’. I will then set up a price point using the second product ID from iTunes Connect.
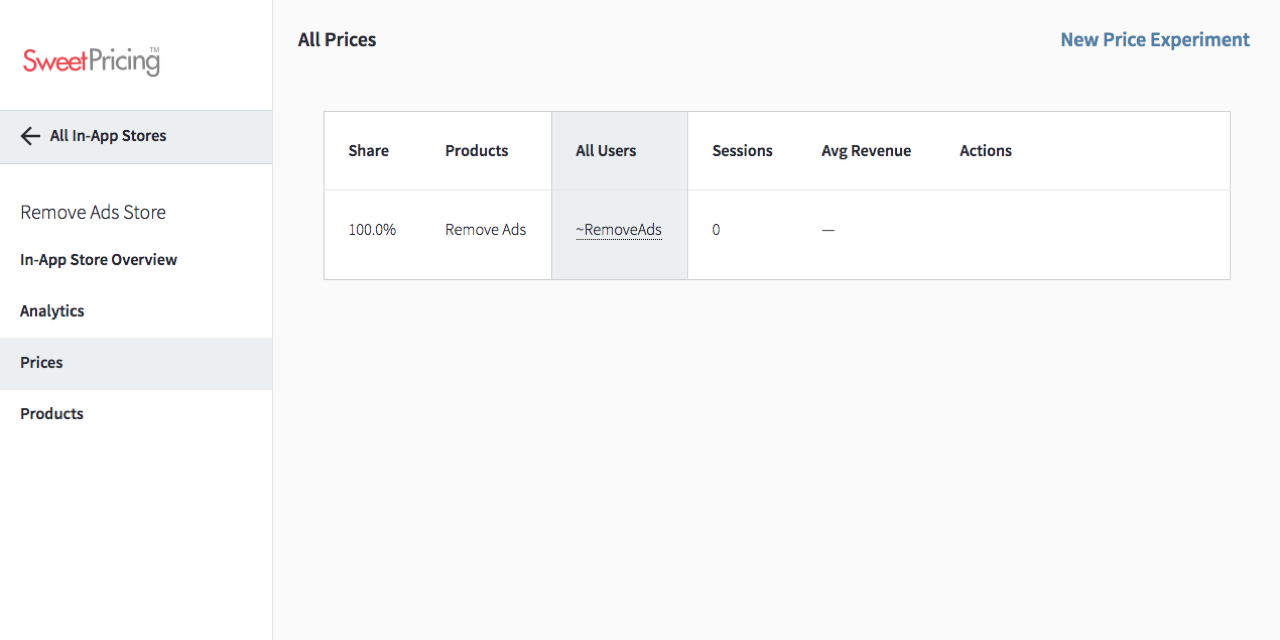
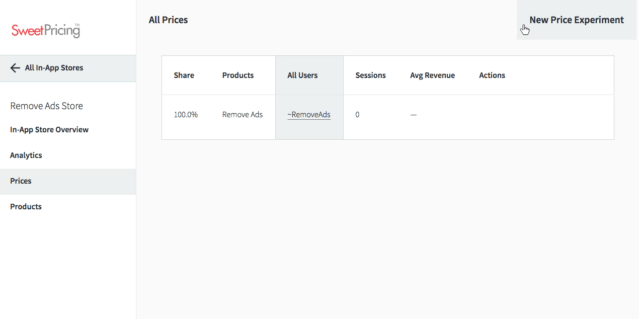
Manage In-App Prices From the Prices Tab
If I head over to the Prices tab, you can see there is one pricing model set up. It uses the $0.99 product ID. That means that when I install Sweet Pricing into Match The Atoms, it will continue to show $0.99 for all users. I will come back later after I have installed Sweet Pricing to show you how to create a new pricing model.
To install Sweet Pricing into Match The Atoms, I need to follow the instructions on the ‘Using the iOS Library’ documentation page. The code examples on that page are written in Objective-C, but Match The Atoms is written in Swift. That is not a big problem: as you will see, everything translates over into Swift quite simply.
Step 1: Install the ‘DynamicPricing’ CocoaPod
In this project, I am not currently using CocoaPods. While it is possible to use Sweet Pricing without using CocoaPods, I am first going to initialize my project with CocoaPods.
If you are not already using CocoaPods, you will need to install it. You should be able to install the rubygem using:
sudo gem install cocoapods
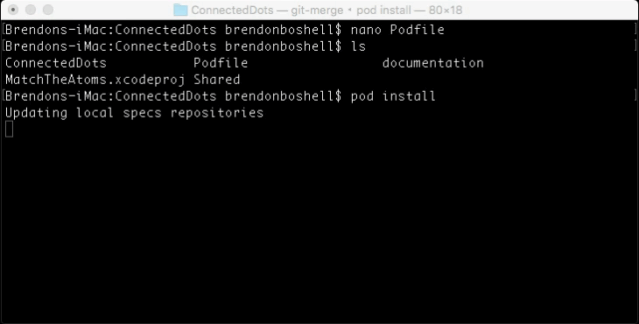
I first need to initialize the project. In the directory of my project, I run the following:
pod init
This command has created a file called
Podfile in my project’s directory.
I will open up Podfile and add a line for
the DynamicPricing pod to the
target section.

Finally, I will install the dynamic pricing library by running:
pod install
Now I will reopen the project. I want to ensure I open the .xcworkspace file.
Because I am now using a Pod, I need to make a small change to the build settings. I will open the ‘Build Settings’ tab, find ‘other linker flags’ and add the line
$(inherited)
Step 2: Initialize the iOS Client Library
If I go back to the
iOS install guide, I can see the first thing I need to do is
initialize the client library. The documentation page
contains some sample code in Objective-C. In Match The
Atoms, the initialization logic is placed inside a
file called
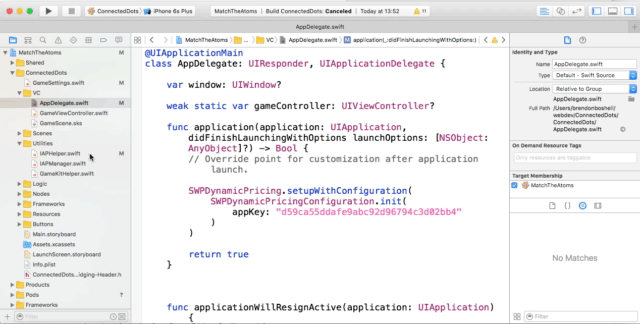
AppDelegate.swift. I will import the
DynamicPricing library and call
SWPDynamicPricing.setupWithConfiguration()
inside the application() function.
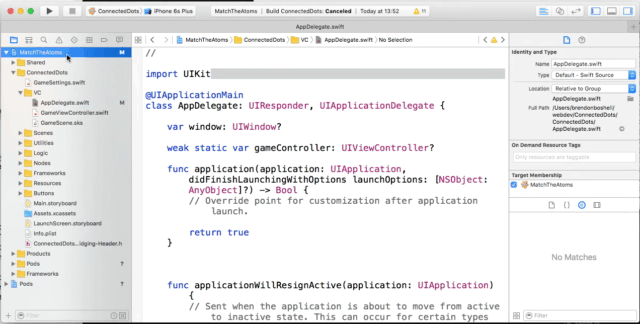
Notice that I pass appKey to
SWPDynamicPricingConfiguration.init().
The app key is a 32-character random ID that Sweet
Pricing assigns to every app on the platform. You will
find this ID on the ‘App Overview’ tab of
App Manager.
So the first step, initialization of the client
library, is now complete. I can now use the
library’s other methods, namely
fetchVariant,
trackViewStore and
trackPurchase, and the library will
associate my calls with the appKey I
provided.
Step 2.5: Creating a Semantic Product ID Naming Scheme
I need to fetch the product ID from Sweet Pricing. Before the app sends a request to Apple’s StoreKit API, it first needs to request pricing information from Sweet Pricing. That request will return a product ID that I can then send to Apple’s StoreKit. The product ID returned will depend on the pricing rules I configure in Sweet Pricing, so it might be specific to a user segment, for example.
In this project, I have a file named
IAPHelper.swift that represents an in-app
store, with a list of products. And there is another
file called IAPManager.swift that creates
the in-app store based on static, hardcoded product
IDs. But, because I want to use dynamic pricing, I
need to create the store at runtime. So I will delete
IAPManager.swift.
There is another file called
GameSettings.swift that has a string
property called iapID, which is the
product ID I have configured in iTunes Connect. I no
longer want to use a hardcoded product ID, but I still
need a way to recognize different product IDs as the
same product. The easiest way to do that is to create
a semantic naming scheme. For Match The Atoms, I
will create a scheme in which recognizes any in-app
purchase starting with the original product ID as the
‘remove ads’ product, regardless of its
actual product ID or price. So I will rename the
iapID variable to
iapCanonicalProductID.
Update the In-App Purchase Logic to Canonicalize Product IDs
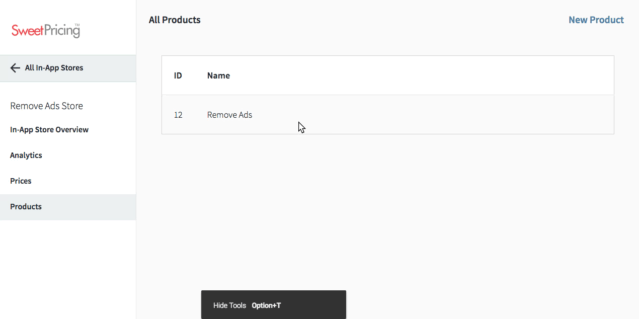
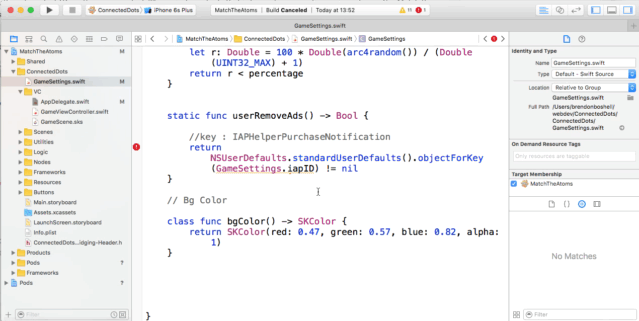
I am also going to add a new variable called
iapID which is the integer ID from Sweet
Pricing that I have set up. You can find this ID on
the products tab. In this case, the ID is 12.

At the bottom of this file, there is a function called
userRemoveAds(). This function returns
true if the user has purchased the remove
ads product, and is used throughout the app where ads
are shown. I will update this function to use the
canonical ID based on the semantic naming scheme,
rather than the hardcoded product ID.
Next, I need to look at IAPHelper.swift.
Firstly, I need to create function that takes a
product ID from Apple’s StoreKit, i.e. the
semantic product ID, and convert it into a canonical
representation. This function checks if the product ID
starts
with com.brendonboshell.MatchTheAtoms.Iap.RemoveAds.
If it does, it returns that product ID. Otherwise, the
function returns Unknown, although it
could be easily extended to support more than one
in-app purchase.
I now need to look at where
IAPHelper.swift uses the product ID. The
userRemoveAds() function is looking in
the user settings for the product ID, so I need to
ensure the product ID saved into these settings is the
canonicalized version. So the final change to
IAPHelper.swift is to map this product ID
via canonicalize().
That is all I need to do in
IAPHelper.swift for now.
Step 3: Fetch the Dynamic Pricing Product ID From Sweet Pricing
Next, I am going to find where the app previously used
IAPManager.swift (that I have now
deleted). I will dynamically create an instance of
IAPHelper once the app gets the price
information from Sweet Pricing.
The first such use of IAPManager is in
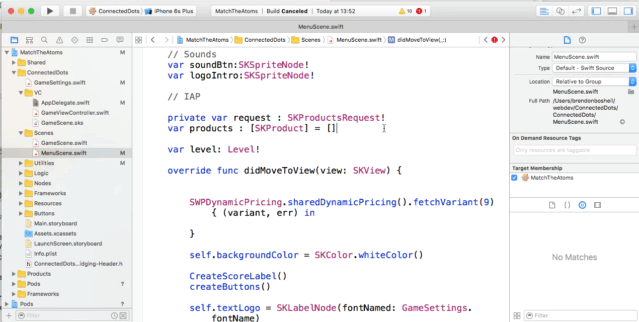
MenuScene.swift. This file is responsible
for rendering the initial start screen, which also
contains the ‘Remove Ads’ button.
This class calls the
IAPManager.store.requestProducts()
function. But, remember, the app first needs to call
Sweet Pricing’s API for the price information. I
need to use the fetchVariant() function,
which takes a single integer argument: the product group
ID that the app is requesting price information for.
Again, I can find this product ID from Sweet
Pricing’s App Manager. I will leave the product
group ID hardcoded for now.
The callback contains two arguments:
variant and err. I
don’t need to worry about errors, since by
default the client library will fallback to a default
product ID. So if there is a network issue, say the
user is not connected to the Internet, the client
library will use the default product ID. The error
object is still provided, if you want to log the error
or perform some other action.
Setting a Fallback Product ID to Gracefully Handle Errors
The price information is stored in the
variant object. I need to call the method
skuForProductId, which will return the
string product ID that needs to be passed to
Apple’s StoreKit API. And because I provide a
default, the return value always exists.
let productId = variant.skuForProductId(
  GameSettings.iapID,
  withDefault: GameSettings.iapCanonicalProductID
)
I also need to create the store, so I will add a
property to the class called store. By
default, it will be a store with no products.
var store = IAPHelper(productIds: [])
Then, once I have the product ID from Sweet Pricing, I
need to replace the store and call the
requestProducts() function on it.
self.store = IAPHelper(productIds: [
productId
])
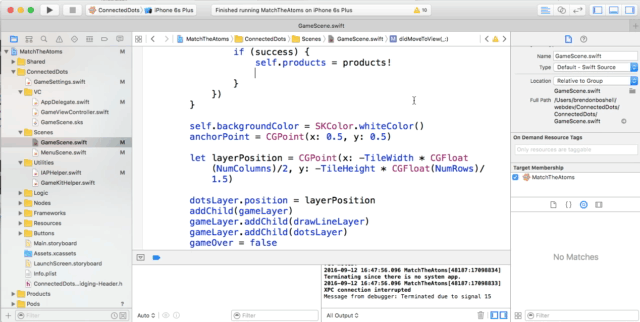
self.store.requestProducts({ (success, products) in
if (success) {
self.products = products!
}
})
To summarize, this code:
- Sends a request to Sweet Pricing for prices of an in-app store (ID = 9);
-
Initializes a
IAPHelperobject with the product ID returned from Sweet Pricing; -
Uses the
requestProducts()function, which sends a request to the StoreKit API for localized pricing.
There are also some minor changes to references to
IAPManager. I will replace those with
references to self.store.
Compile the App and Check It Fetches the Correct Price From Sweet Pricing
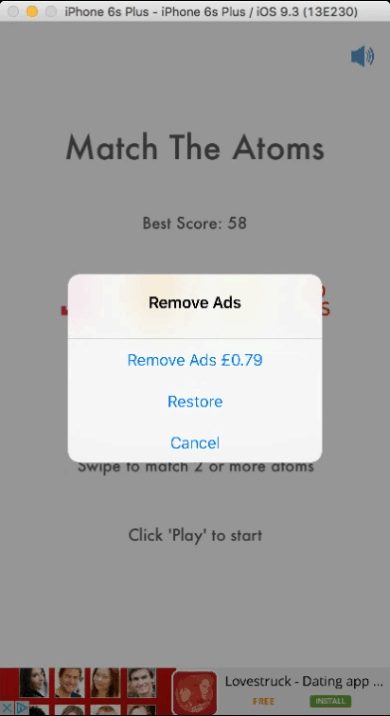
At this point, I can compile the project and open the app in the simulator. But, before I do that, let me go back to Prices tab in App Manager. I will change the price point to $1.99
Now I will open the app in the iPhone simulator and click the ‘Remove Ads’ button.
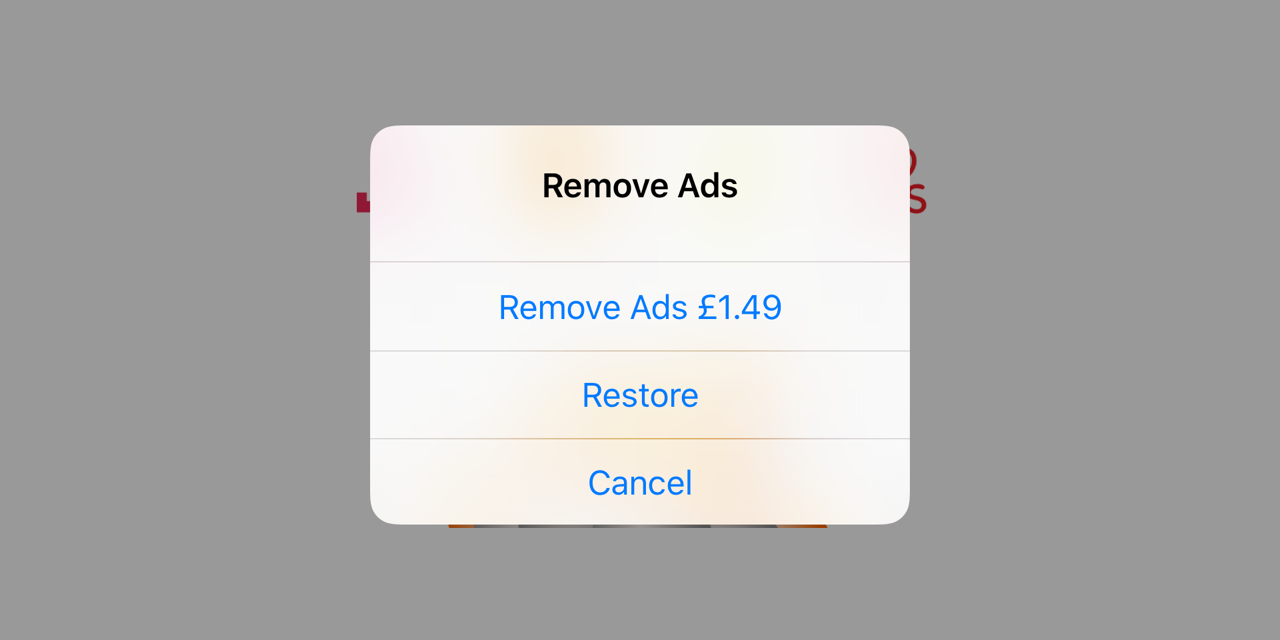
So I can see the price has successfully updated to $1.99 (or £1.49). This confirms I am getting the price information from Sweet Pricing, so step 3 of the installation guide is complete.
Step 4: Track View Store and Purchase Events
I still need to track two key events, and send data
back to Sweet Pricing. Firstly, I need to track when
the user views the in-app store. I call the
trackViewStore function, passing an array
of price information. This array contains the price,
currency code and product ID from StoreKit. When I
later call trackPurchase, Sweet Pricing
uses this data to convert localized prices to your
mobile app’s base currency.
For a Swift mobile app, I can construct this array with the following code:
let productInfos = products!.map({ (product) - Dictionary String, AnyObject in
  return [
    "price": product.price,
    "currencyCode": product.priceLocale.objectForKey(NSLocaleCurrencyCode)!,
    "productId": product.productIdentifier
  ]
})
I pass productInfos to the
trackViewStore function:
SWPDynamicPricing.sharedDynamicPricing().trackViewStore(
  variant,
  products: productInfos
)
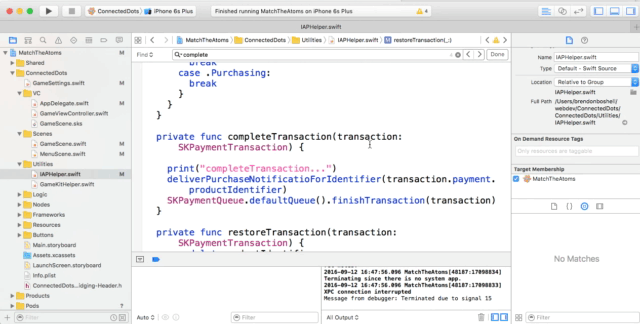
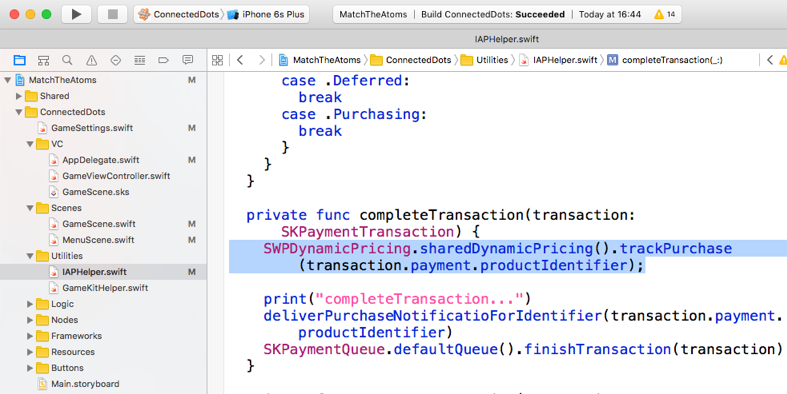
Finally, I need to track the purchase event. I add
some logic to the
completeTransaction function in
IAPHelper. When the user makes a
purchase, this handler is called and I pass the
product ID to Sweet Pricing’s
trackPurchase function:
SWPDynamicPricing.sharedDynamicPricing().trackPurchase(
  transaction.payment.productIdentifier
)